Printing Services

Print wirelessly from your mobile device or from the open computer lab to any available Print Release Station. Once the print job has been submitted, proceed to any Print Release Station and follow the instructions listed there.

Please note that you must be connected to the "UHSecure" Wi-Fi service set identifier (SSID) or connected via an ethernet cable on campus before you submit your print job. If you are on the public "UHGuest" or any other Wi-Fi network, the print job will not be submitted.

If you have any questions or need assistance, contact us at SLTech@uh.edu or 832-842-2999.

Locations

The Print Release Stations are located:

Albert and Mamie George Building (AMG)
In the Rotunda near AMG 101 (B&W printing)
Outside the Open Computer Lab, AMG 303 (Color and B&W printing)
Brazos Hall (BH2)
Outside the College of Nursing Office suite near BH2 362 (B&W printing)

Instructions

Select your Operating System (OS) below and follow the steps to send a print job to any UH Sugar Land Campus Print Release Station.

1. Download file
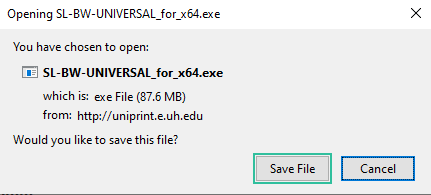
Download the sl-bw-universal_for_x64.exe file from any browser (this example is using Firefox). For color printing, download sl303colorqueue_for_x64.exe. Save it to your computer.
Open and run the sl-bw-universal_for_x64.exe/sl303colorqueue_for_x64.exe file.
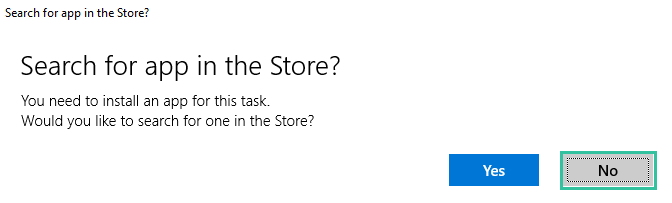
If prompted to “Search the app in the app store”, select “NO”.

2. Run the installation file

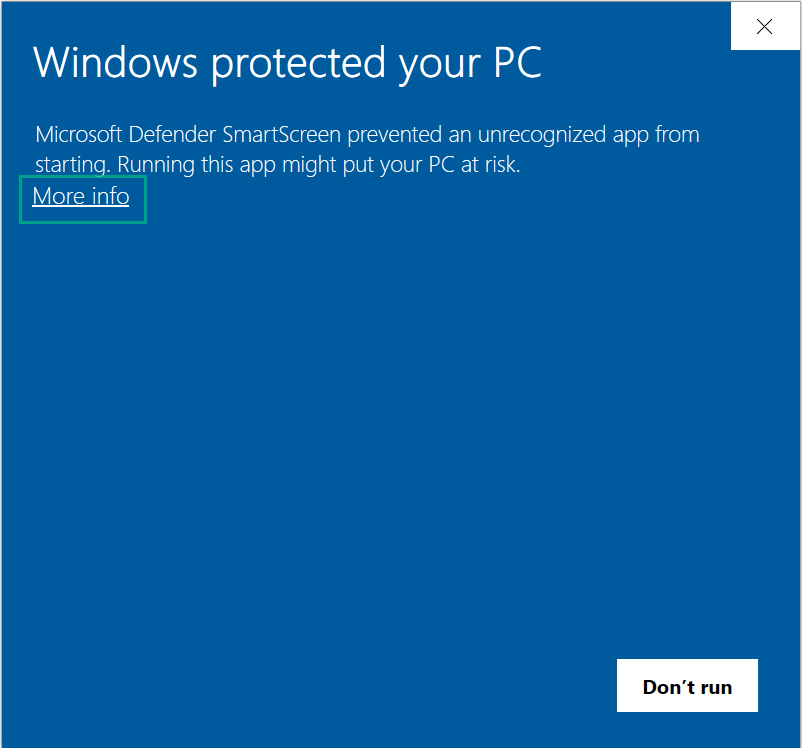
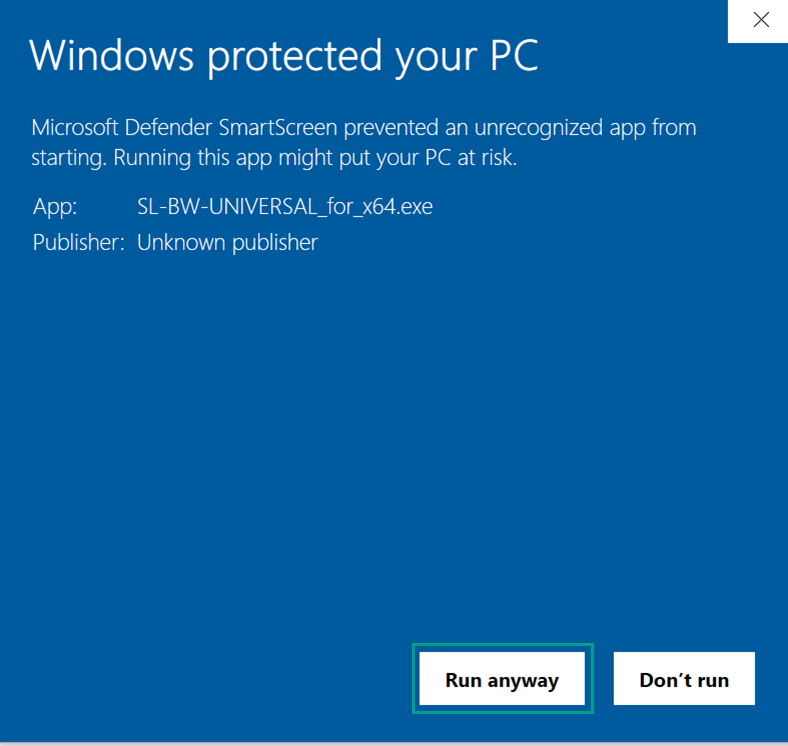
If you see a “Windows protected your PC” dialogue box:
Select “More info”
Select “Run anyway”

3. Install the printer client package
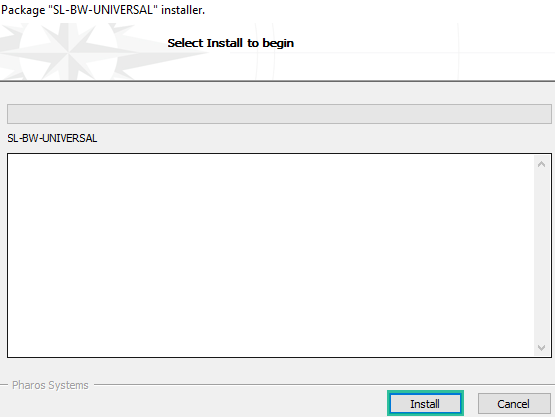
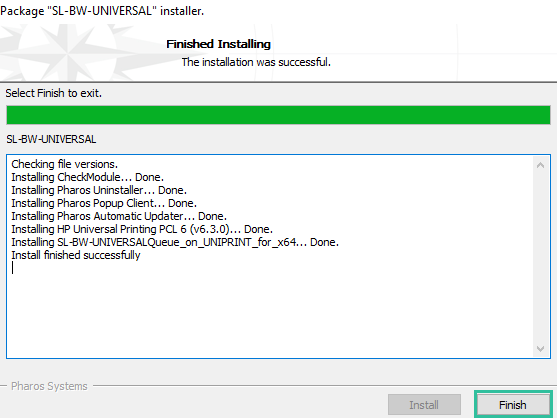
Select “Install” to begin printer client installation.
Select “Finish” to complete the process and exit the printer client installation.
instructions

4. Print document

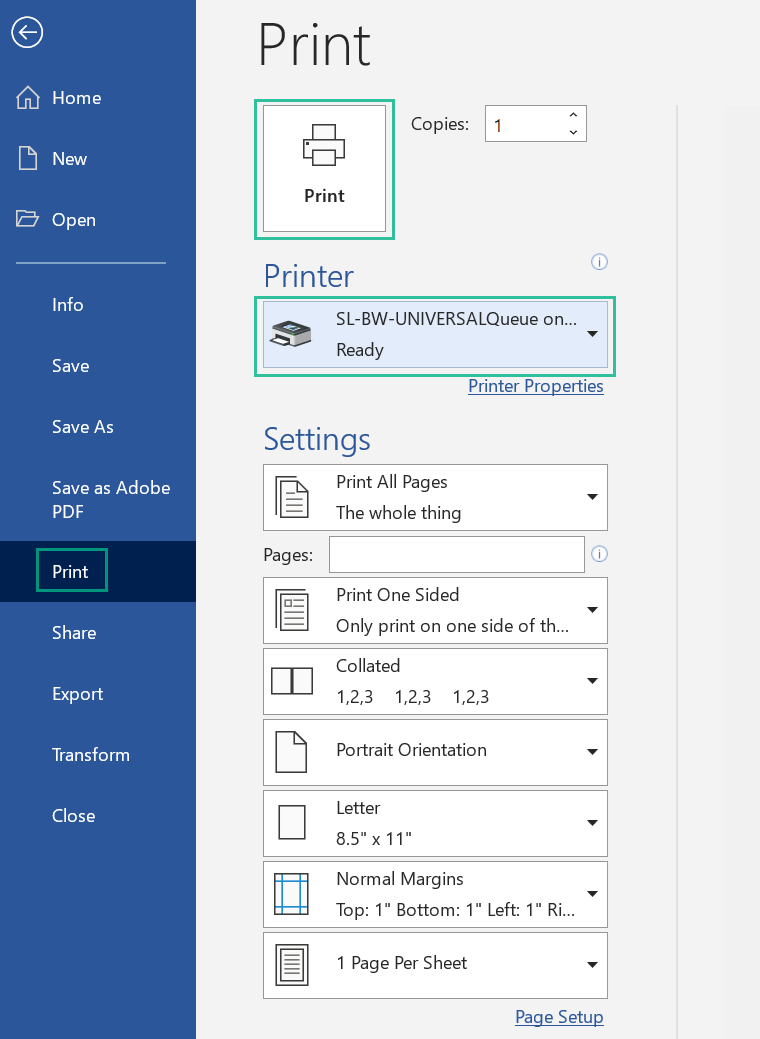
From the program you wish to print (this example is using Microsoft Word), select “File” > “Print”.

Select the “SL-BW-UNIVERSALQueue on UNIPRINT” printer.

Select “Print” to send your print job to the Print Release Station . Proceed to any UH at Sugar Land Print Release Station and follow the printing instructions listed there.
1. Download file

Download the Popup.dmg file to your Mac OS device from any browser (this example is using Safari browser), and save it to your computer.
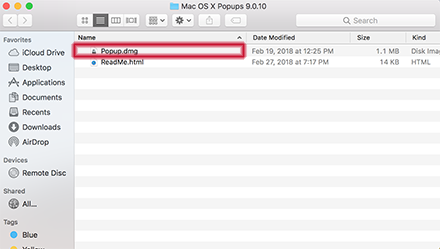
Open the folder of the download and run/double-click the Popup.dmg file.

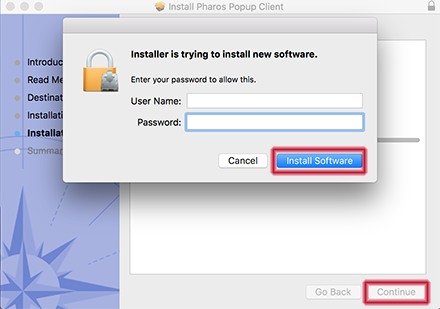
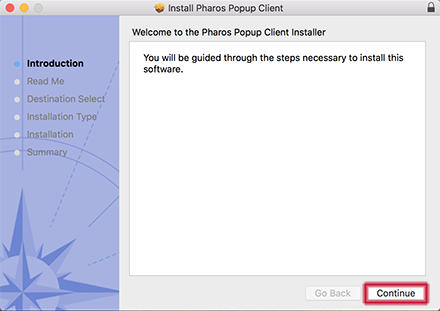
Once the installer loads, click “Continue” twice.
2. Run the installation file
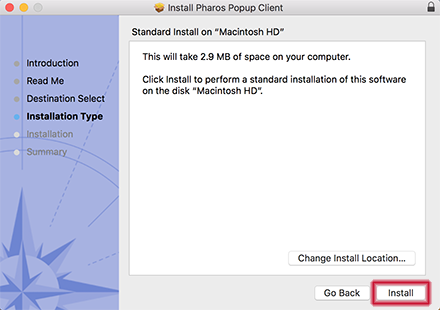
Click “Install”


When prompted for password, type in your password for your local computer account and select “Install Software”. Then click “Continue”.
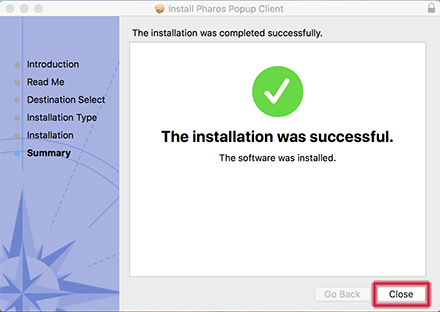
After installation is successful, click “close”

3. Open system preferences

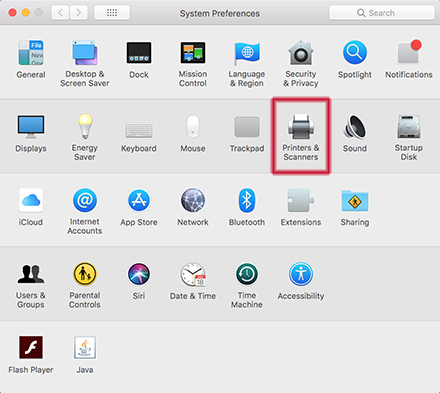
Open System Preferences and click on “Printers & Scanners”.

4. Add printer

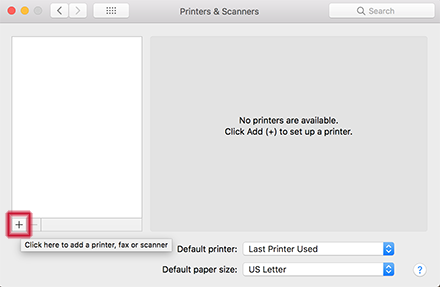
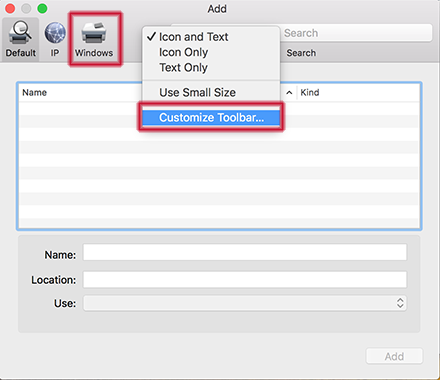
Click on the “+” to add printer.
Right click (ctrl + Click OR tap with two fingers) next to the “Windows” icon and select “Customize Toolbar”.
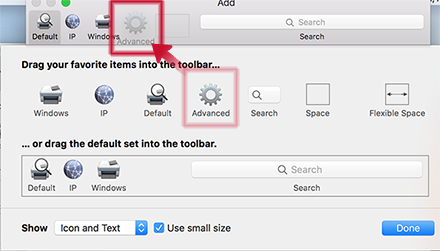
Drag the “Advanced” icon and place it next to the “Windows” icon. Press “Done” afterwards.
Click on “Advanced”, once it loads fill out the following fields:
Type
Select “Pharos Printer Server” from the drop down menu.
Device
Select “Another Device” from the drop down menu.
URL
Type “popup://uniprint.e.uh.edu/slrot-bw01queue” for black and white printing.
Type “popup://uniprint.e.uh.edu/sl303-colorqueue” for color printing.
Name
Type any name in this field. In this example we will use “UHSL”
Location
Leave this field blank.
Use
Select “Generic PostScript Printer” from the drop down menu.
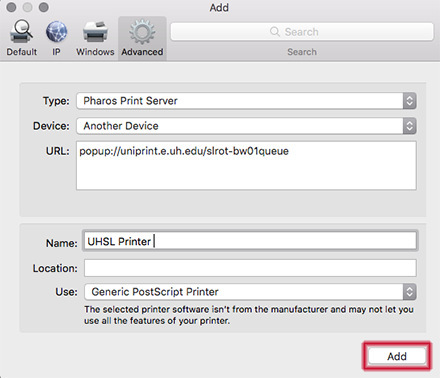
Click “Add”.

5. Print document

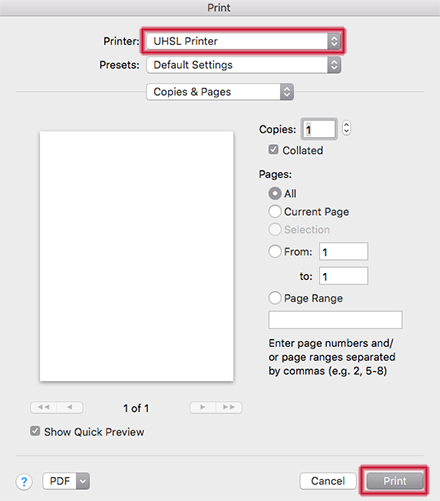
From the program you wish to print, select “File” > “Print”. Select the printer name you added in the previous step. Then, proceed to any UH at Sugar Land Print Release Station and follow printing instructions listed there.