Using the Styles Popout - Custom CSS Selector
UH styles for most purposes are already in place behind the scenes, and the typical CMS editor shouldn't have to give them much thought (as long as your Formatting is properly assigned!).
However, if you are comfortable with CSS and your site has some special features you want to include, you can attach a .css stylesheet file (and/or a .js script) of your own by uploading the file into the CMS and linking it to the page under the "Settings" area on the Edit pane. Additionally, the UH CMS leverages Bootstrap, so those elements can be integrated into a WYSIWYG's HTML editor as well.
For other information, see more about UH Web Policies and UH Web Style Guidelines.
The Styles Popout is a feature which allows you to access a set of pre-determined
CSS styles which editors may apply in various ways throughout the UH website. These
styles can be accessed from the WYSIWYG toolbar's Format[s], and also from Image,
Link, and Table editing dialogs.
Applying a Style | Some Commonly Wanted Styles: Lead, Wrap Text, Buttons, Tables | Notes about the HTML |
Applying a Style:
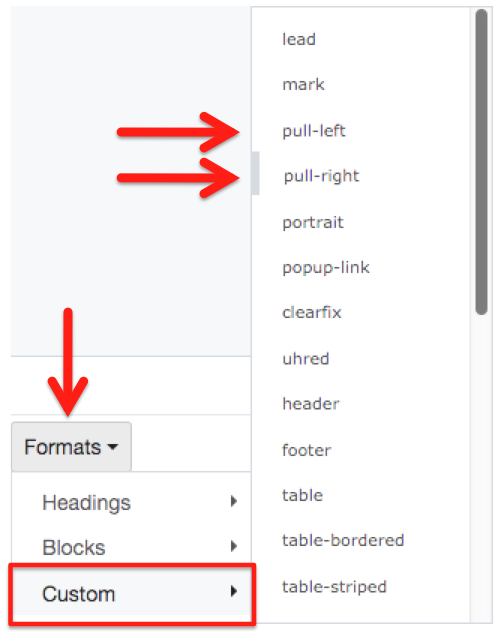
Styles can be applied by first selecting text, objects, graphics, etc. from a WYSIWYG window and then opening the Formats > Custom > CSS Styles Popout to select an item from the list. In the example shown here, the "pull-right" style shows a grey bar next to it, indicating that the style had already been applied to whatever material had been selected before the Formats list was opened.
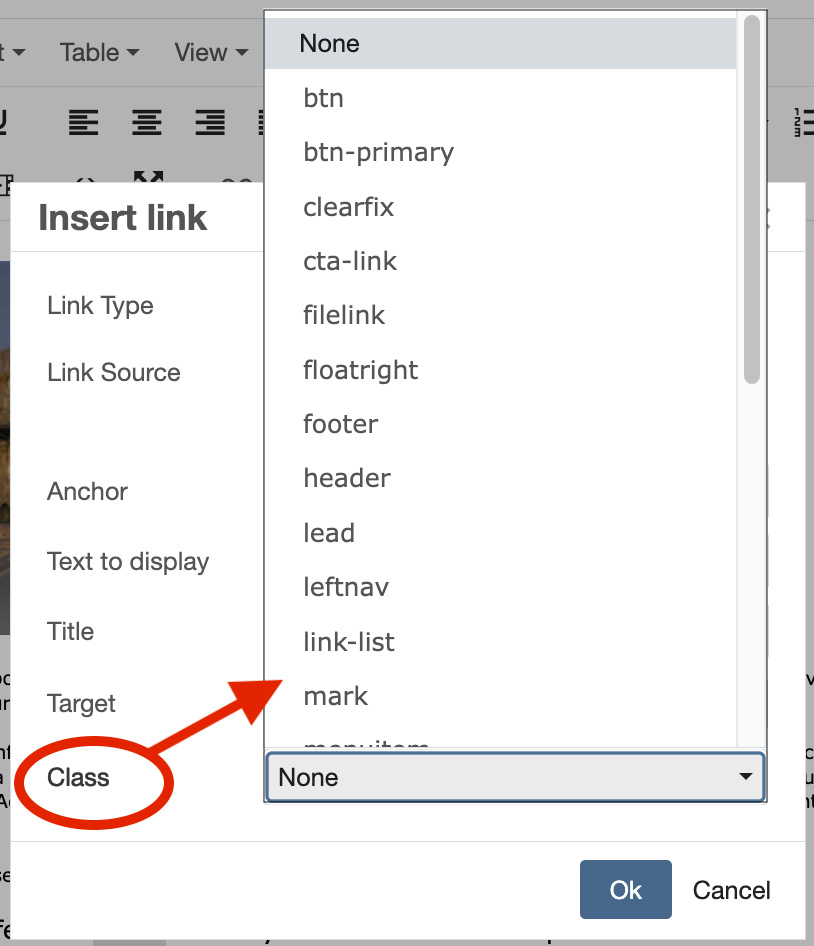
The "Custom" list of CSS styles (aka 'classes') is the same set of selections as you will find
in the "Class" list popout for the Insert dialog[s]. Note that not all styles may be appropriate
to the purpose of the specific Insert dialog[s].
See also: Some commonly wanted styles.
Remember that styles may render differently within the WYSIWYG editor than they do in the Preview/View mode, because the WYSIWYG Edit mode may not be able to "see" the full range of UH styles. This is because many UH styles are called from sources which reside outside of the many and various individual websites which comprise the full UH Website.
The Preview mode is designed to "see" every style a page is heir to, so even if something doesn't look quite right in the Edit mode, if it still looks okay in the Preview mode then you likely have everything assigned okay.
If something looks or works badly in Preview mode, it is likely you still have some work to do!
Feel free to experiment. You can always Discard your Draft version of an Asset, simply "Close" an Edit panel without saving additional draft changes, or even Restore a previously saved Version (More menu > Versions > select options).
Once you save the change by clicking Submit for the page you should then see how the Style is rendered in the context of the
full UH styles environment for that page. If everything looks good and works well,
you are then likely ready to Publish.
TIP: Remember, publishing first to the Staging address for review gives you an additional way of assuring your material is ready to go Live.
Some commonly wanted styles from the popout:
Select the indicated items to see examples, with additional discussion:
Lead | Text Wrap | Buttons | Tables
Notes about the HTML
Note that choosing a Style here will add a "class" atribute to the HTML tag code for
the item to which the style is applied.
(e.g. for text Formatted as a paragraph, with the "pull-left" style applied: <p class="pull-left"> . . . </p>)
Caution! You may find that when adding styles using the WYSIWYG's editing dialogs they can erase or over-write previously-assigned classes, or fail to write-in more than one style, or even delete other hand-coded items for that element. Thus, it is safer to add multiple styles into the class statement in a separate step, manually, via the embedded HTML editor.
Once the class attribute is in place in the code, then other styles/classes can be
accumulated within the same statement.
(e.g. <p class="pull-left lead text-uppercase"> . . . </p>)
To remove any unwanted styles
To remove a style, select the material in question (e.g. image), and reopen the Styles Popout. You should see gray bar indicators telling you which style or styles have already been applied. To remove one: click on the indicated item and that style will be removed.
Alternately, you can go into the embedded HTML editor and edit the class statement manually. If removing only selected styles, look between the quote marks. Each separate style will be separated by a space. For this reason the style names themselves cannot contain spaces.
If you wish to manually remove all styles from an item, remove the entire "class"
statement (e.g. <p class="pull-left"> . . . </p> would then become simply
<p> . . . </p>).